Introduction
Configuration
In order to configure the Remote Sync plugin for Craft, you need to first set up the remote cloud destination of your choice, then configure the plugin.
Overview
There are two steps to configuring Remote Sync:
- Setting up your cloud destination
- Configuring the plugin
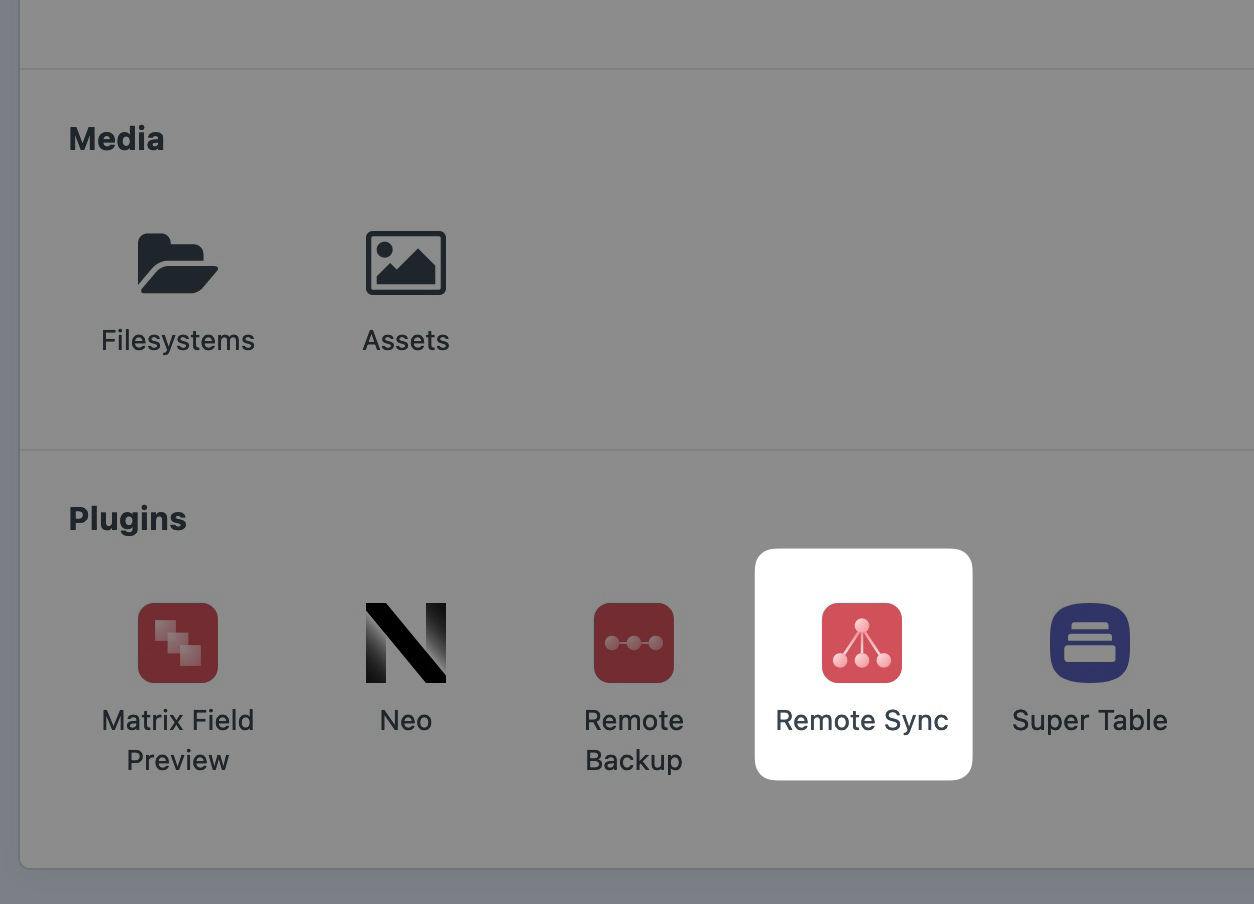
Configuration is handled on the Control Panel settings page for Remote Sync:
Cloud Destination Configuration
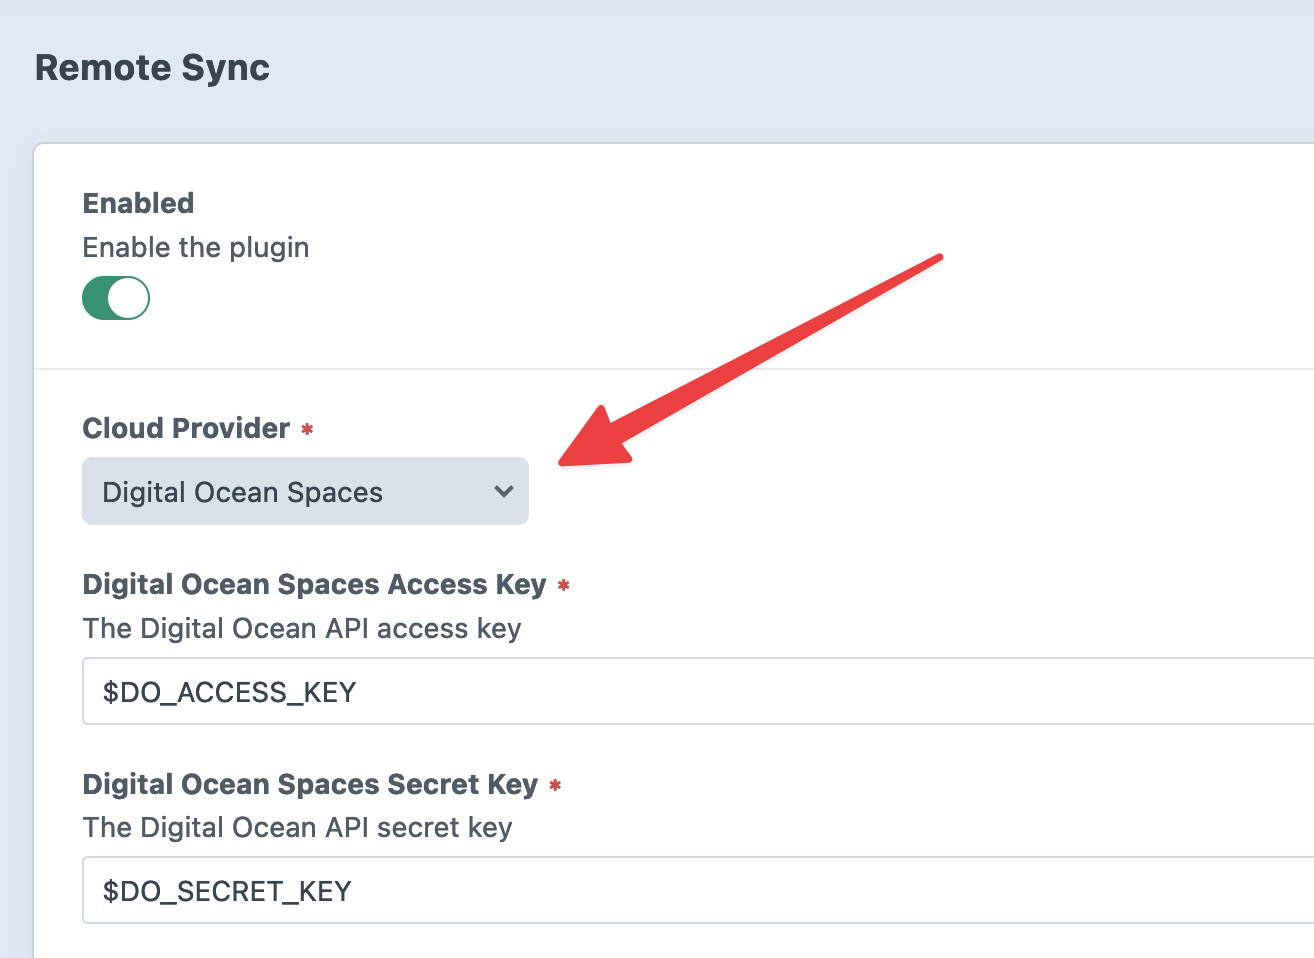
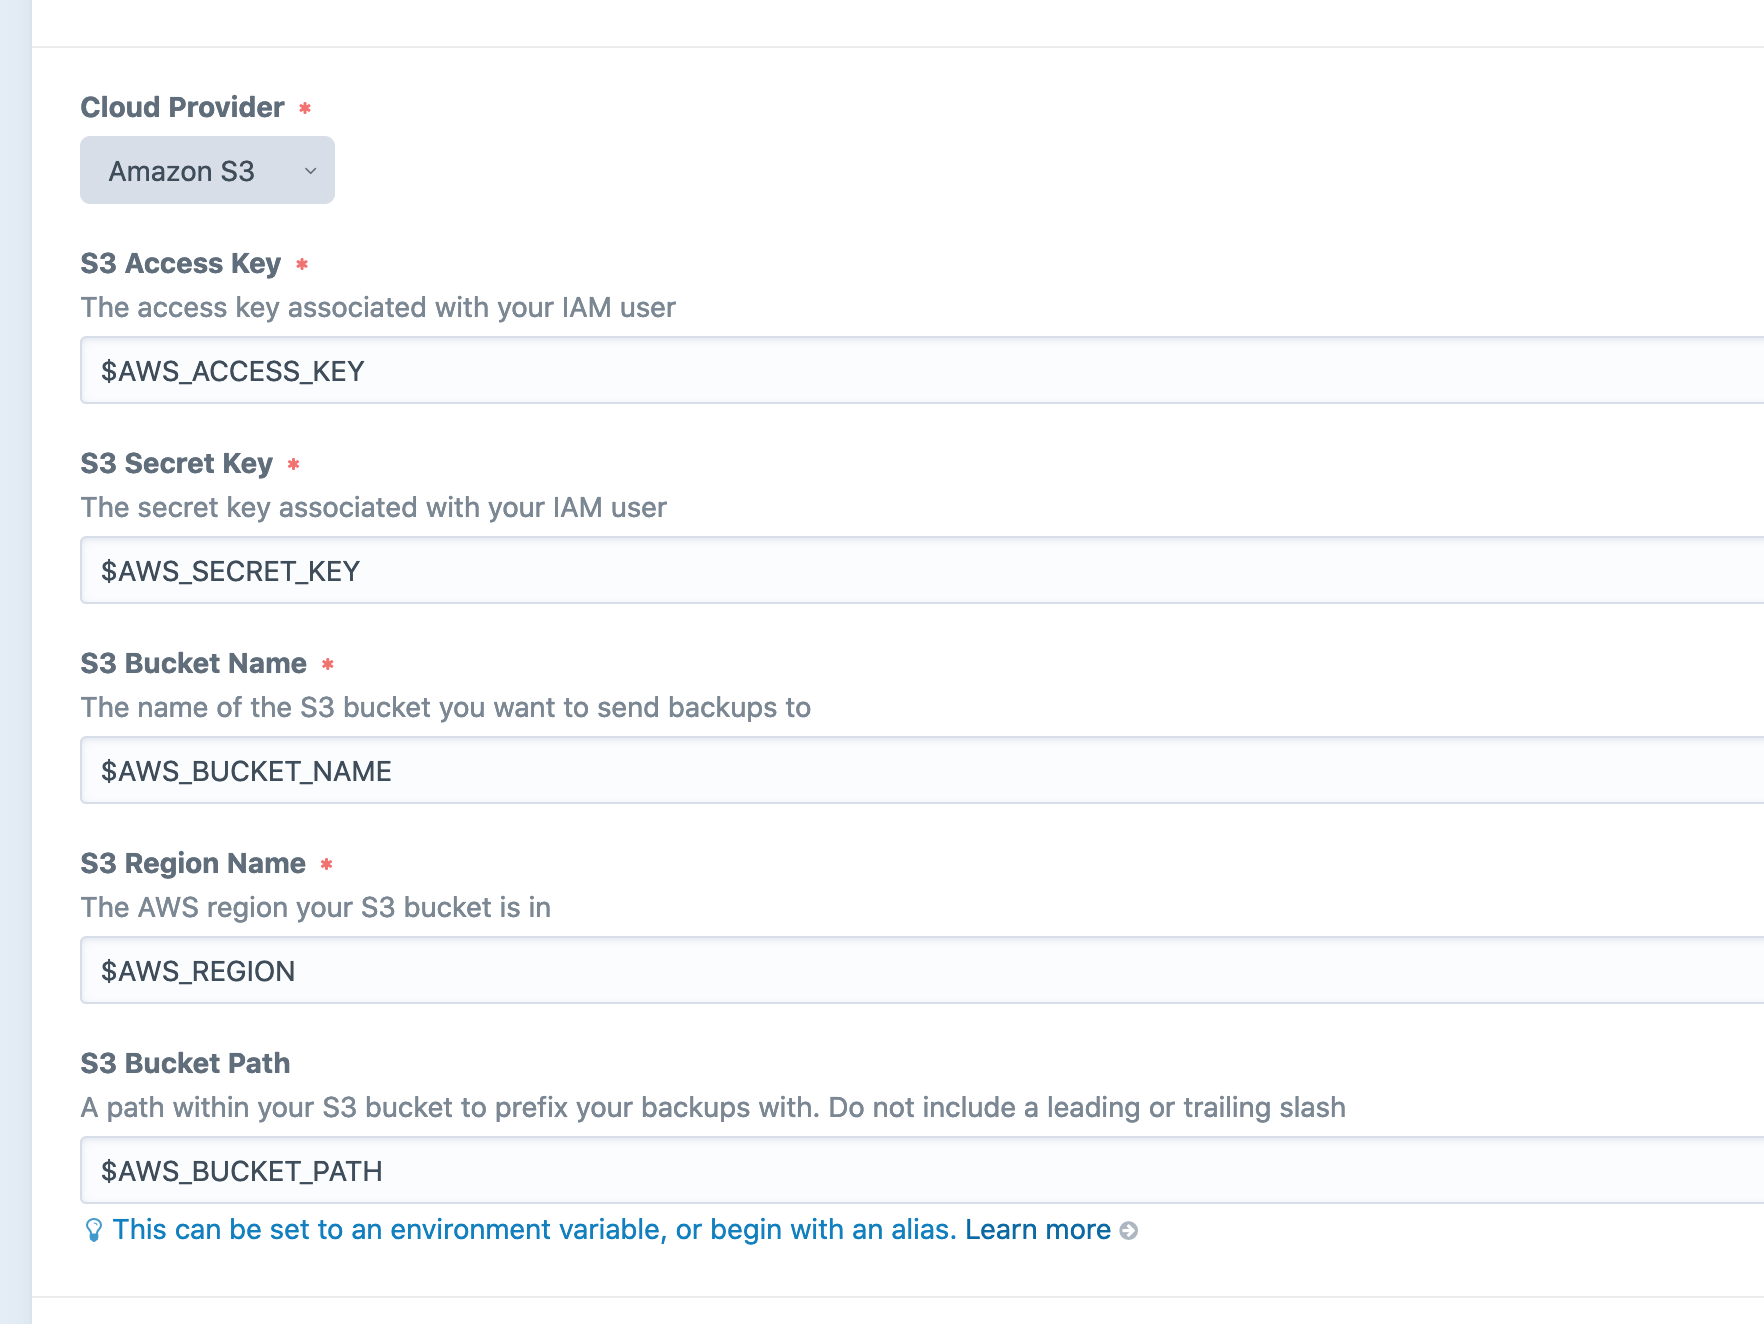
Craft Remote Sync supports a number of remote cloud destinations. Each destination provider requires slightly different setup & configuration.
You can select your provider via the dropdown menu in the Remote Sync settings page:
To see the details on how to configure your provider, see the following pages:
- Amazon S3
- Backblaze B2
- Google Drive
- Digital Ocean Spaces
Dropbox❌ Not currently working due to API changes.
Once you have set up your destination, you'll generally need to return to the plugin settings page and add the credentials required to connect to the cloud location:
🔌 Connection Testing
When setting up your remote destination, you can test the connection right from the settings page making it easy to troubleshoot issues. Use the "Test Connection" button below your provider settings to try it out.
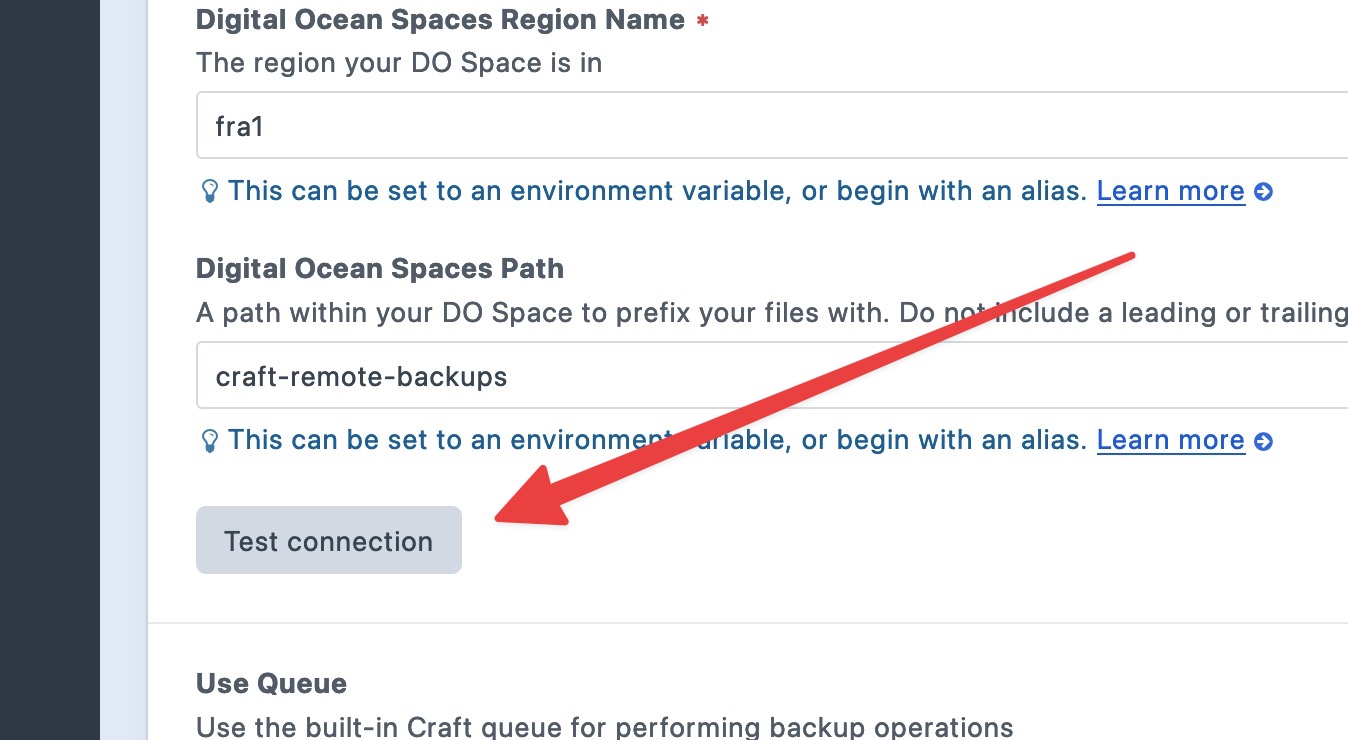
Bear in mind that if you change the configuration, you need to save and reload the page before testing the connetion again.
Additional Plugin Configuration
Once you have configured your particular cloud destination, there are a number of other settings you can configure:
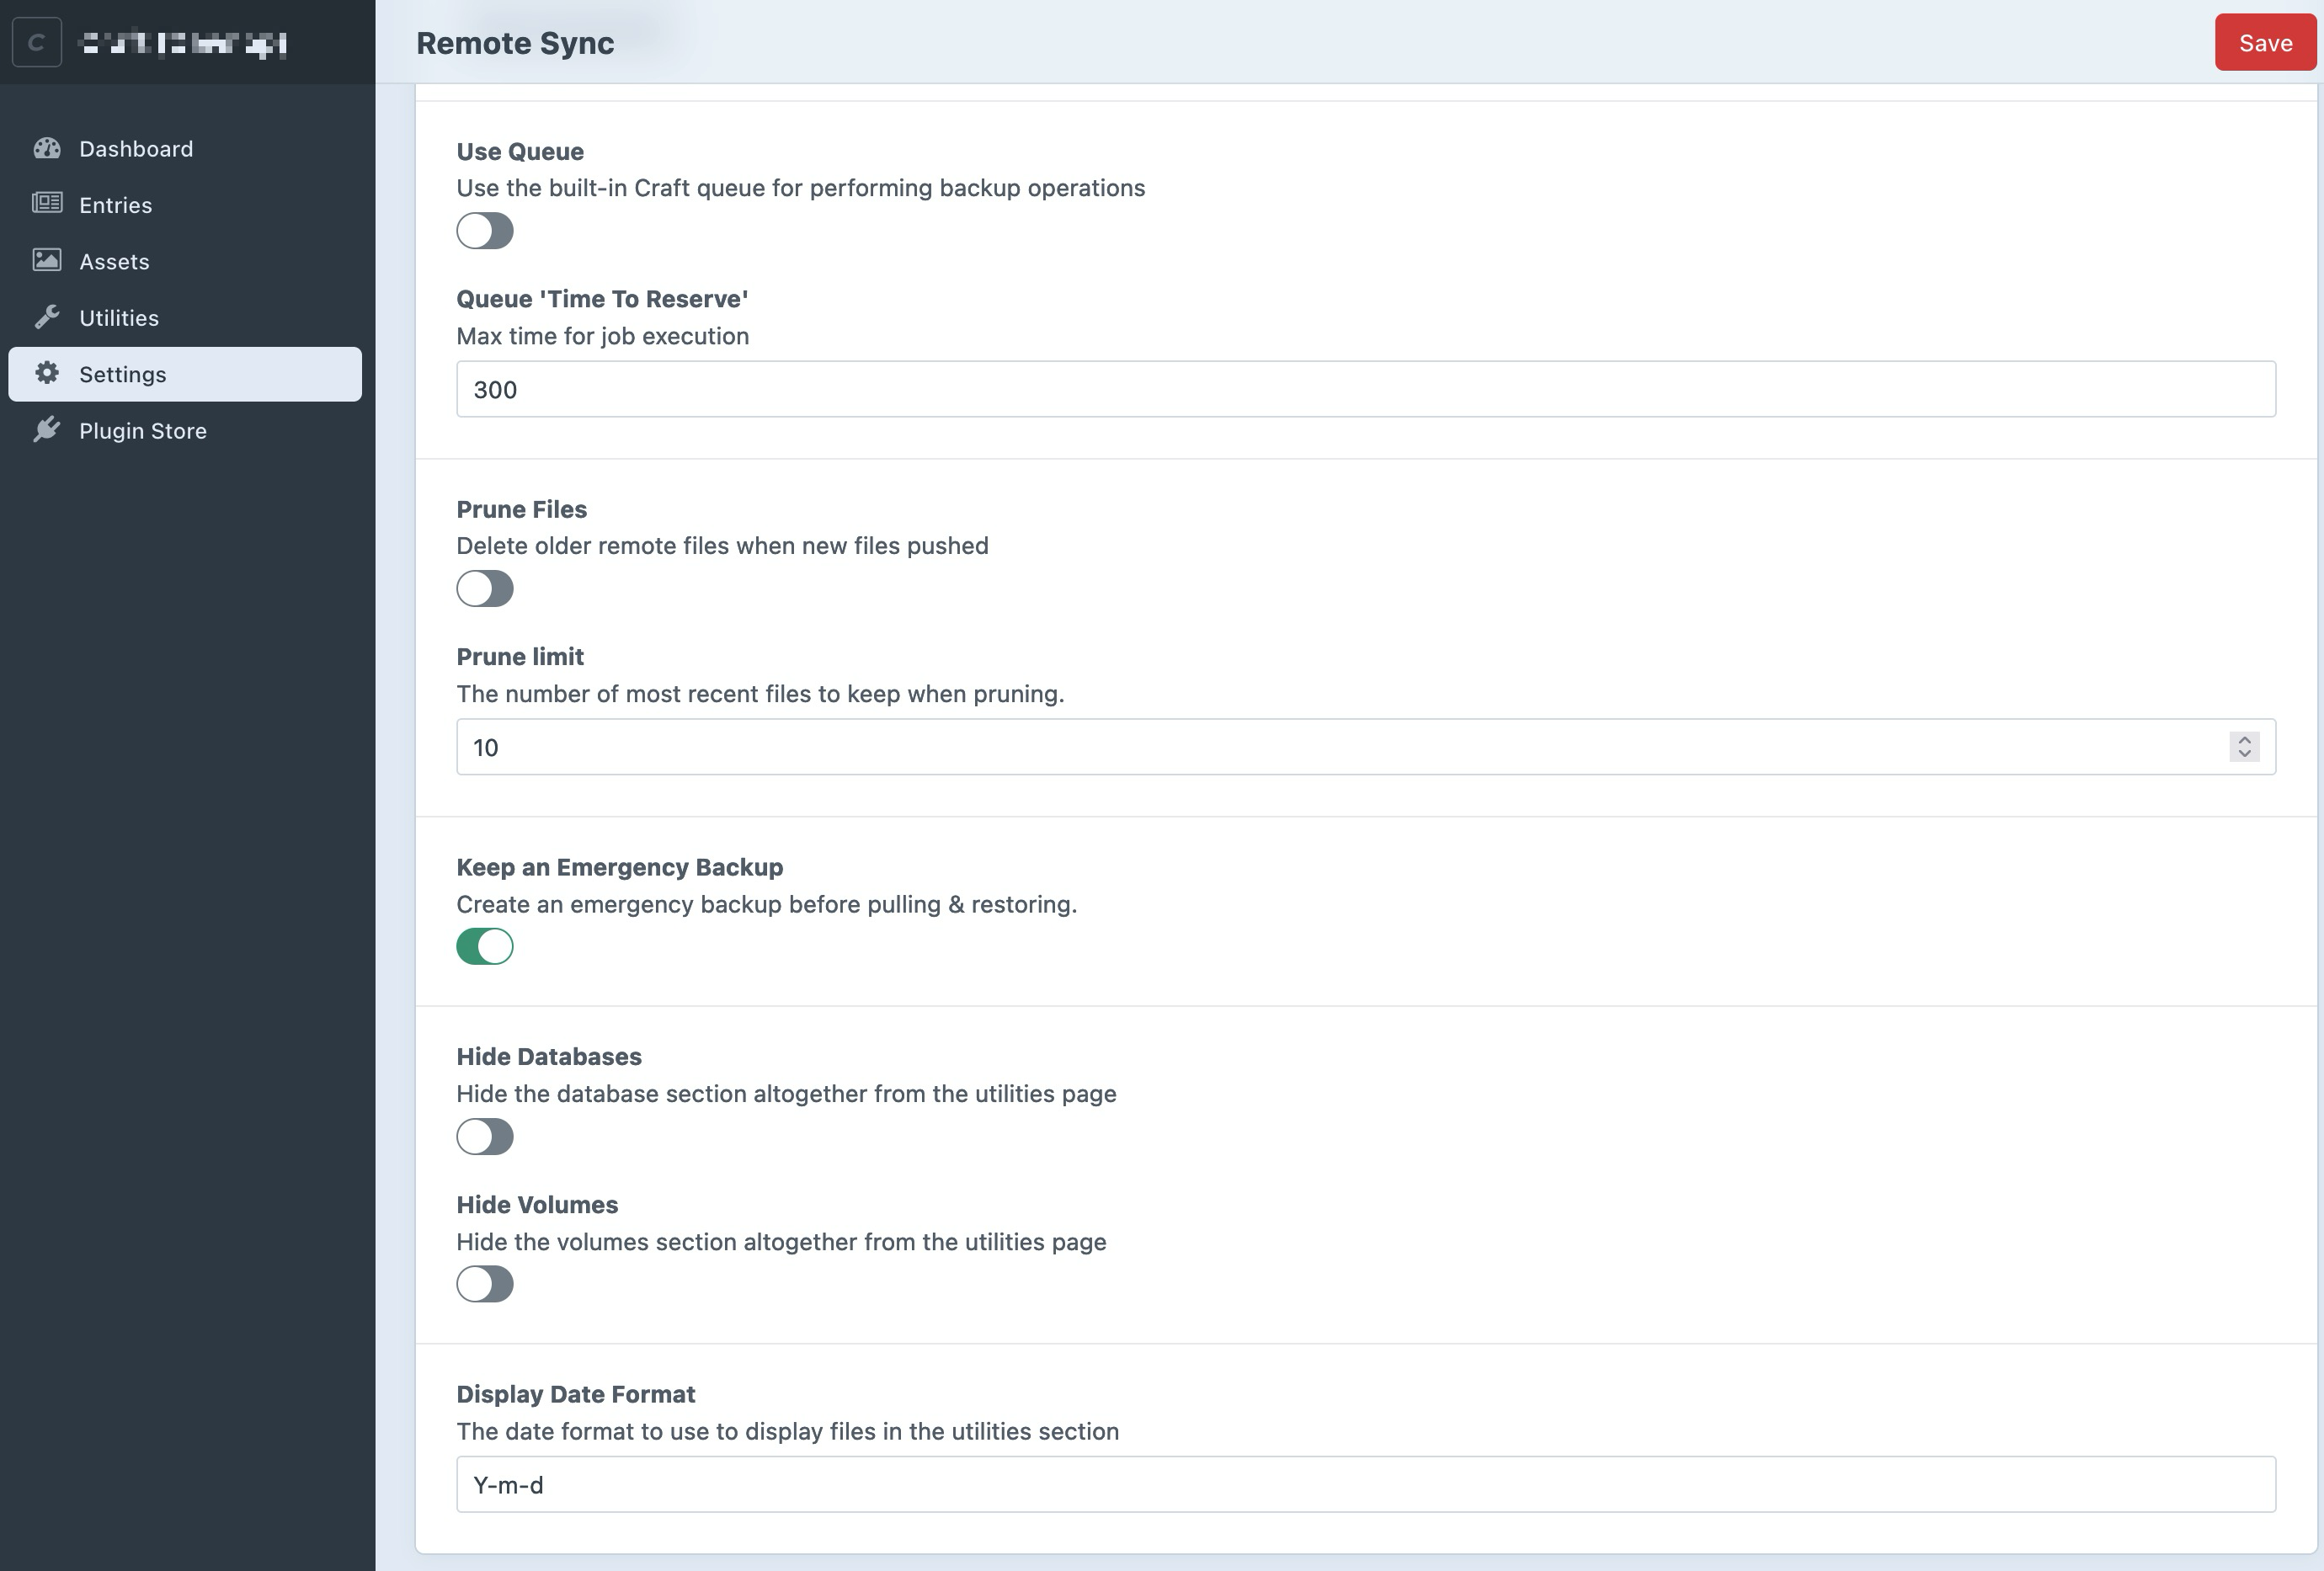
Queue
You can optionally use Craft's built-in queue to sync files. This is useful when your files are large and you don't want to have to wait on the Control Panel interface every time you sync. Instead, the files will be pushed to the queue and completed in the background.
You can enable this via the "Use Queue" light-switch in the settings or via the useQueue setting in your config.
⚠️ CLI commands and the queue
The CLI commands ignore the queue setting. In other words, they will always run synchronously. This is by design as it's likely you will want to see the results of these operations if they are part of your crontab or deployment script.
Emergency backup
When enabled, a local copy of both current database or volumes will be created and saved before pull & restoring a remote version.
This is a last resort in case you accidentally pull and restore something you didn't mean to. Bear in mind that only 1 emergency backup is kept:
storage/sync/emergency-backup.sql(database)storage/sync/emergency-backup.zip(volumes)
Pruning
When enabled, "old" synced files will be automatically deleted when you push new files to the remote provider. This allows you to keep the number of remote files manageable (therefore keeping your costs down).
The "prune limit" controls how many of the most recent files you keep when pushing new files. For example, if the limit is 3 then Remote Sync will always keep the latest 3 remote database files as well as the latest 3 remote volume files. Any older files will be deleted.
When enabled, pruning will happen automatically while using the utilities interface.
⚠️ CLI commands and pruning
You can prune the remote files using two CLI console commands:
./craft remote-sync/database/prune
./craft remote-sync/volume/prune
Just like the queue setting above, pruning will not be automatically run when you are using the command line to push volumes, so you should run the prune command as part of any automated syncing scripts.
Hide databases/volume
This is a convenience setting that allows you to completely hide either databases or volumes from the control panel interface. This is useful if you are only interested in syncing one particular type of files (for example, you're only using the plugin to sync databases).
Multi-Environment Configuration
If you want to configure the plugin on a per-environment basis, you can copy the config/remote-sync.example.php to your project's config/remote-sync.php file. These settings will override the Control Panel settings.
<?php
return [
    '*' => [
        'cloudProvider' => 's3',
        //...
        'useQueue' => false,
        'keepEmergencyBackup' => false,
        'prune' => true,
        'pruneLimit' => 6,
    ],
    'dev' => [],
    'staging' => [],
    'production' => [],
];